





How to Wire a Ceiling Fan- Step-by-Step Instructions for 2026
Summary
A new ceiling fan sitting in its box looks straightforward enough. Then the old fixture comes down, the wires appear, and things feel a little less certain. The truth is, most ceiling fan electrical installation jobs are not nearly as complicated as that first glance suggests. Getting familiar with what each wire does, checking everything properly before starting, and working through the connections one at a time makes the whole thing far more approachable than most people expect.
Introduction
There is a particular moment during ceiling fan installation that catches people off guard.
The fan is bought, the ladder is out, and everything is going to plan. Then the old fixture comes away from the ceiling and suddenly there are wires going in directions that were not quite anticipated.
For anyone who does not work with electrical installations regularly, that moment feels uncomfortable.
It does not need to.
The wiring behind a ceiling fan follows a logic that makes sense once it is explained properly. Most of the uncertainty people feel at that stage comes from not knowing what to expect rather than from any genuine complexity in the job itself. Work through it step by step, understand what each conductor is doing, and the process becomes considerably less intimidating.
A Look Into the Ceiling Fan Wiring Basics
Ceiling fans tend to be invisible in the best possible way.
They run in the background of warm afternoons, family meals, and long evenings without anyone really noticing. That changes quickly on installation day, or on the day something stops working properly.
The wiring that powers a ceiling fan is, in most homes, quite simple. Power travels in from the supply, passes through whatever control system is in place, and reaches the motor. The motor does the rest. This might sound obvious written down, but standing in front of an open ceiling box, it can be harder to hold onto.
During ceiling fan electrical installation, the single most useful thing is understanding the role each conductor plays rather than just trying to match colours. The phase wire is what carries power into the circuit. The neutral wire is what completes it. The earth wire is what keeps the system safe if something goes wrong.
Those three connections sit at the heart of almost every residential ceiling fan installation. Once they make sense, everything else tends to fall into place.
Tools and Safety Checks Required Before Wiring
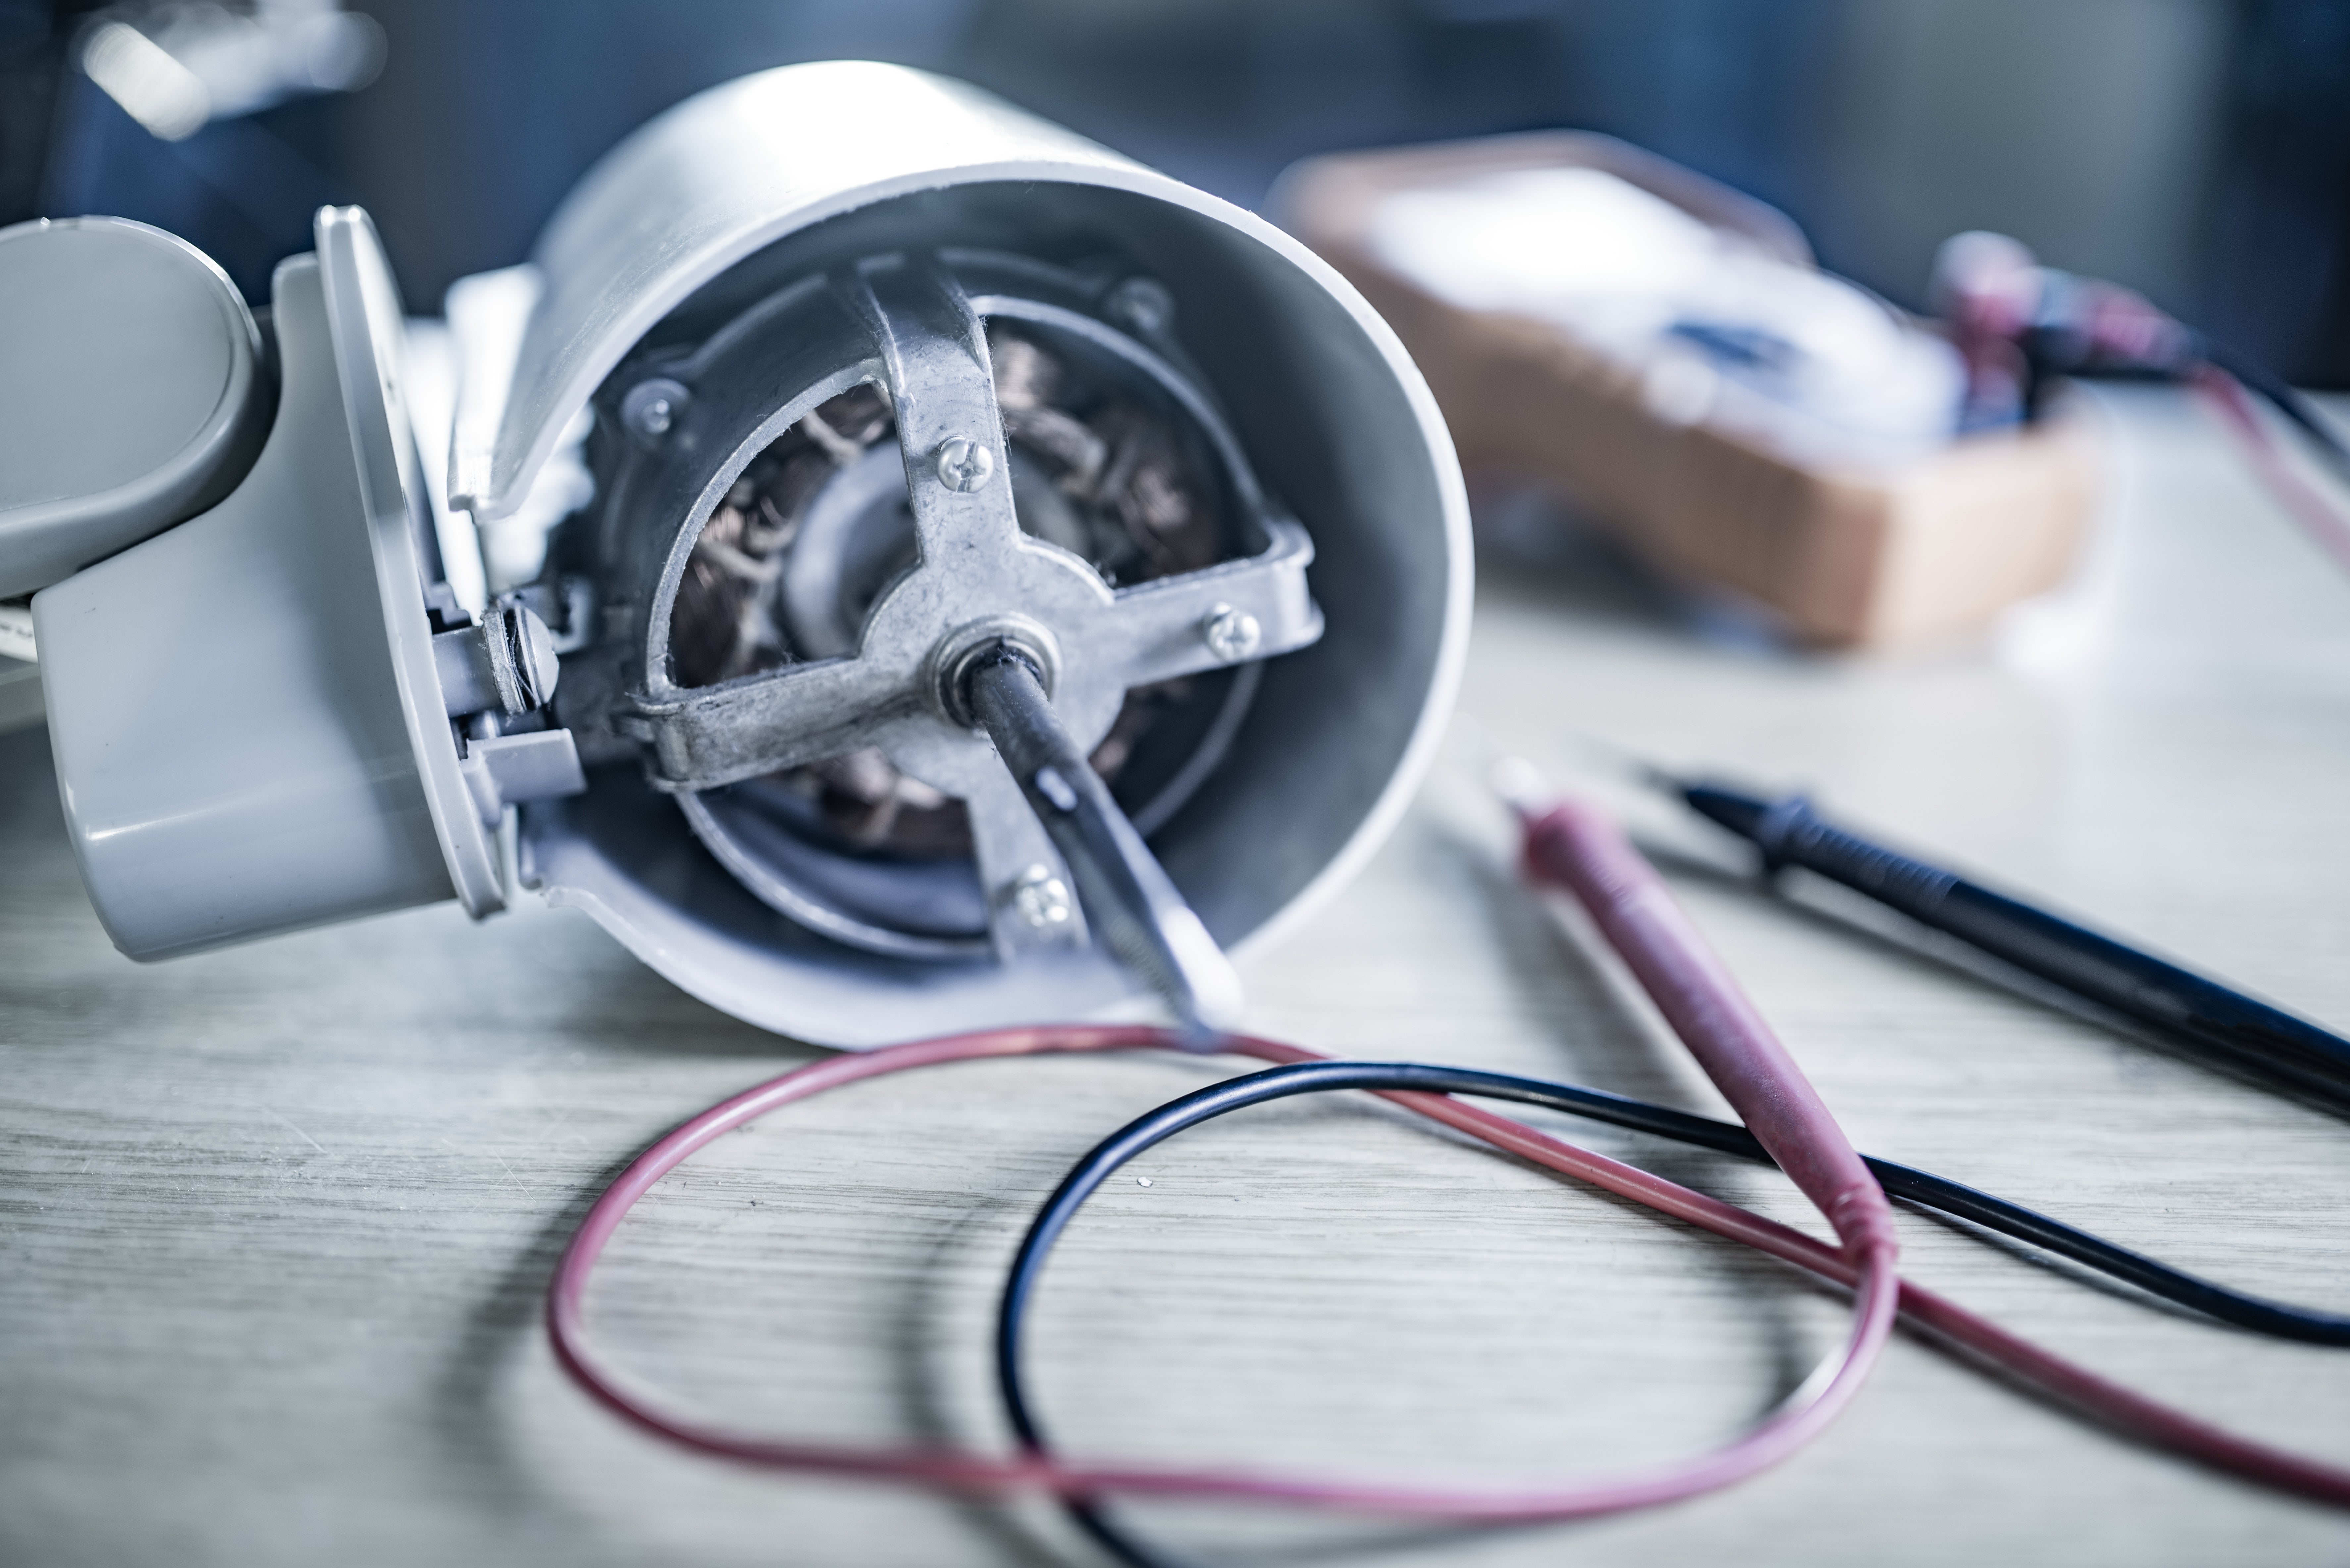
A surprising number of wiring problems trace back not to any mistake at the connections, but to something that went wrong before the work even began. Skipping preparation or rushing through safety checks creates problems that take far longer to fix than they would have taken to prevent.
Gather Tools Before Climbing the Ladder
There is a particular frustration in climbing down a ladder repeatedly because something was forgotten at ground level.
The tools needed for most installations are not unusual. A screwdriver, a voltage tester, wire strippers, pliers, insulation tape, and a ladder that feels genuinely stable are usually enough to get the job done. Getting all of that ready before going up the first time means the work flows without unnecessary interruptions.
Small habits like this one make a noticeable difference to how the whole job feels from start to finish.
Check for Voltage, Then Check Again
Most experienced electricians will test a circuit after isolating it, and then test it a second time before touching anything.
That is not excessive caution. It is sensible practice.
Anyone working through how to wire a ceiling fan for the first time should build that same habit. Breaker labels in older homes are not always reliable. Wiring in properties that have been modified over the years can sometimes mean a switch controls more than one circuit, or that labelling no longer reflects what is actually there.
Test before touching. Every single time.
Look Closely at the Existing Installation
Before starting any installation, it is worth taking a proper look at what is already there.
Newer properties often have clean, clearly marked wiring that is straightforward to work with. Older homes are sometimes a different story. Modifications made at different points by different people over the years can leave things in a state that takes a moment to interpret.
Checking the mounting box, the condition of the conductor insulation, and the existing connections before anything else helps avoid unpleasant surprises halfway through the job. If something looks wrong, it is much better to deal with it at the start than to discover it after the new fan is already up.
Identifying Ceiling Fan Wires
Getting the wire identification stage right makes every step after it more straightforward. Rushing through this part is where mistakes tend to happen.
Understanding the Incoming Supply Conductors
No two ceiling boxes look exactly alike, which is part of why relying purely on wire colour can be unreliable.
The phase conductor is what carries power into the circuit. The neutral conductor provides the path for that power to return. The earth conductor is the safety connection that protects the system under fault conditions.
Anyone working out how to connect ceiling fan wires should verify the function of each conductor before making any decisions about where it connects. Colour can be a useful guide, but function is what actually matters. Confirming both before proceeding takes only a few extra minutes and is almost always worth the time.
Identifying the Fan Connections
Modern ceiling fans generally come well labelled, which takes a fair amount of guesswork out of the process.
That said, spending a few minutes with the instruction manual before starting is rarely wasted time. Different manufacturers handle things slightly differently, and a quick read-through at the beginning can prevent the kind of confusion that only becomes obvious later in the process.
People learning how to connect a fan for the first time often find the documentation answers questions they did not even know they had yet.
Understanding Regulator Wiring
The wall regulator does not get much attention until the day the fan refuses to change speed, at which point it becomes the most important thing in the room.
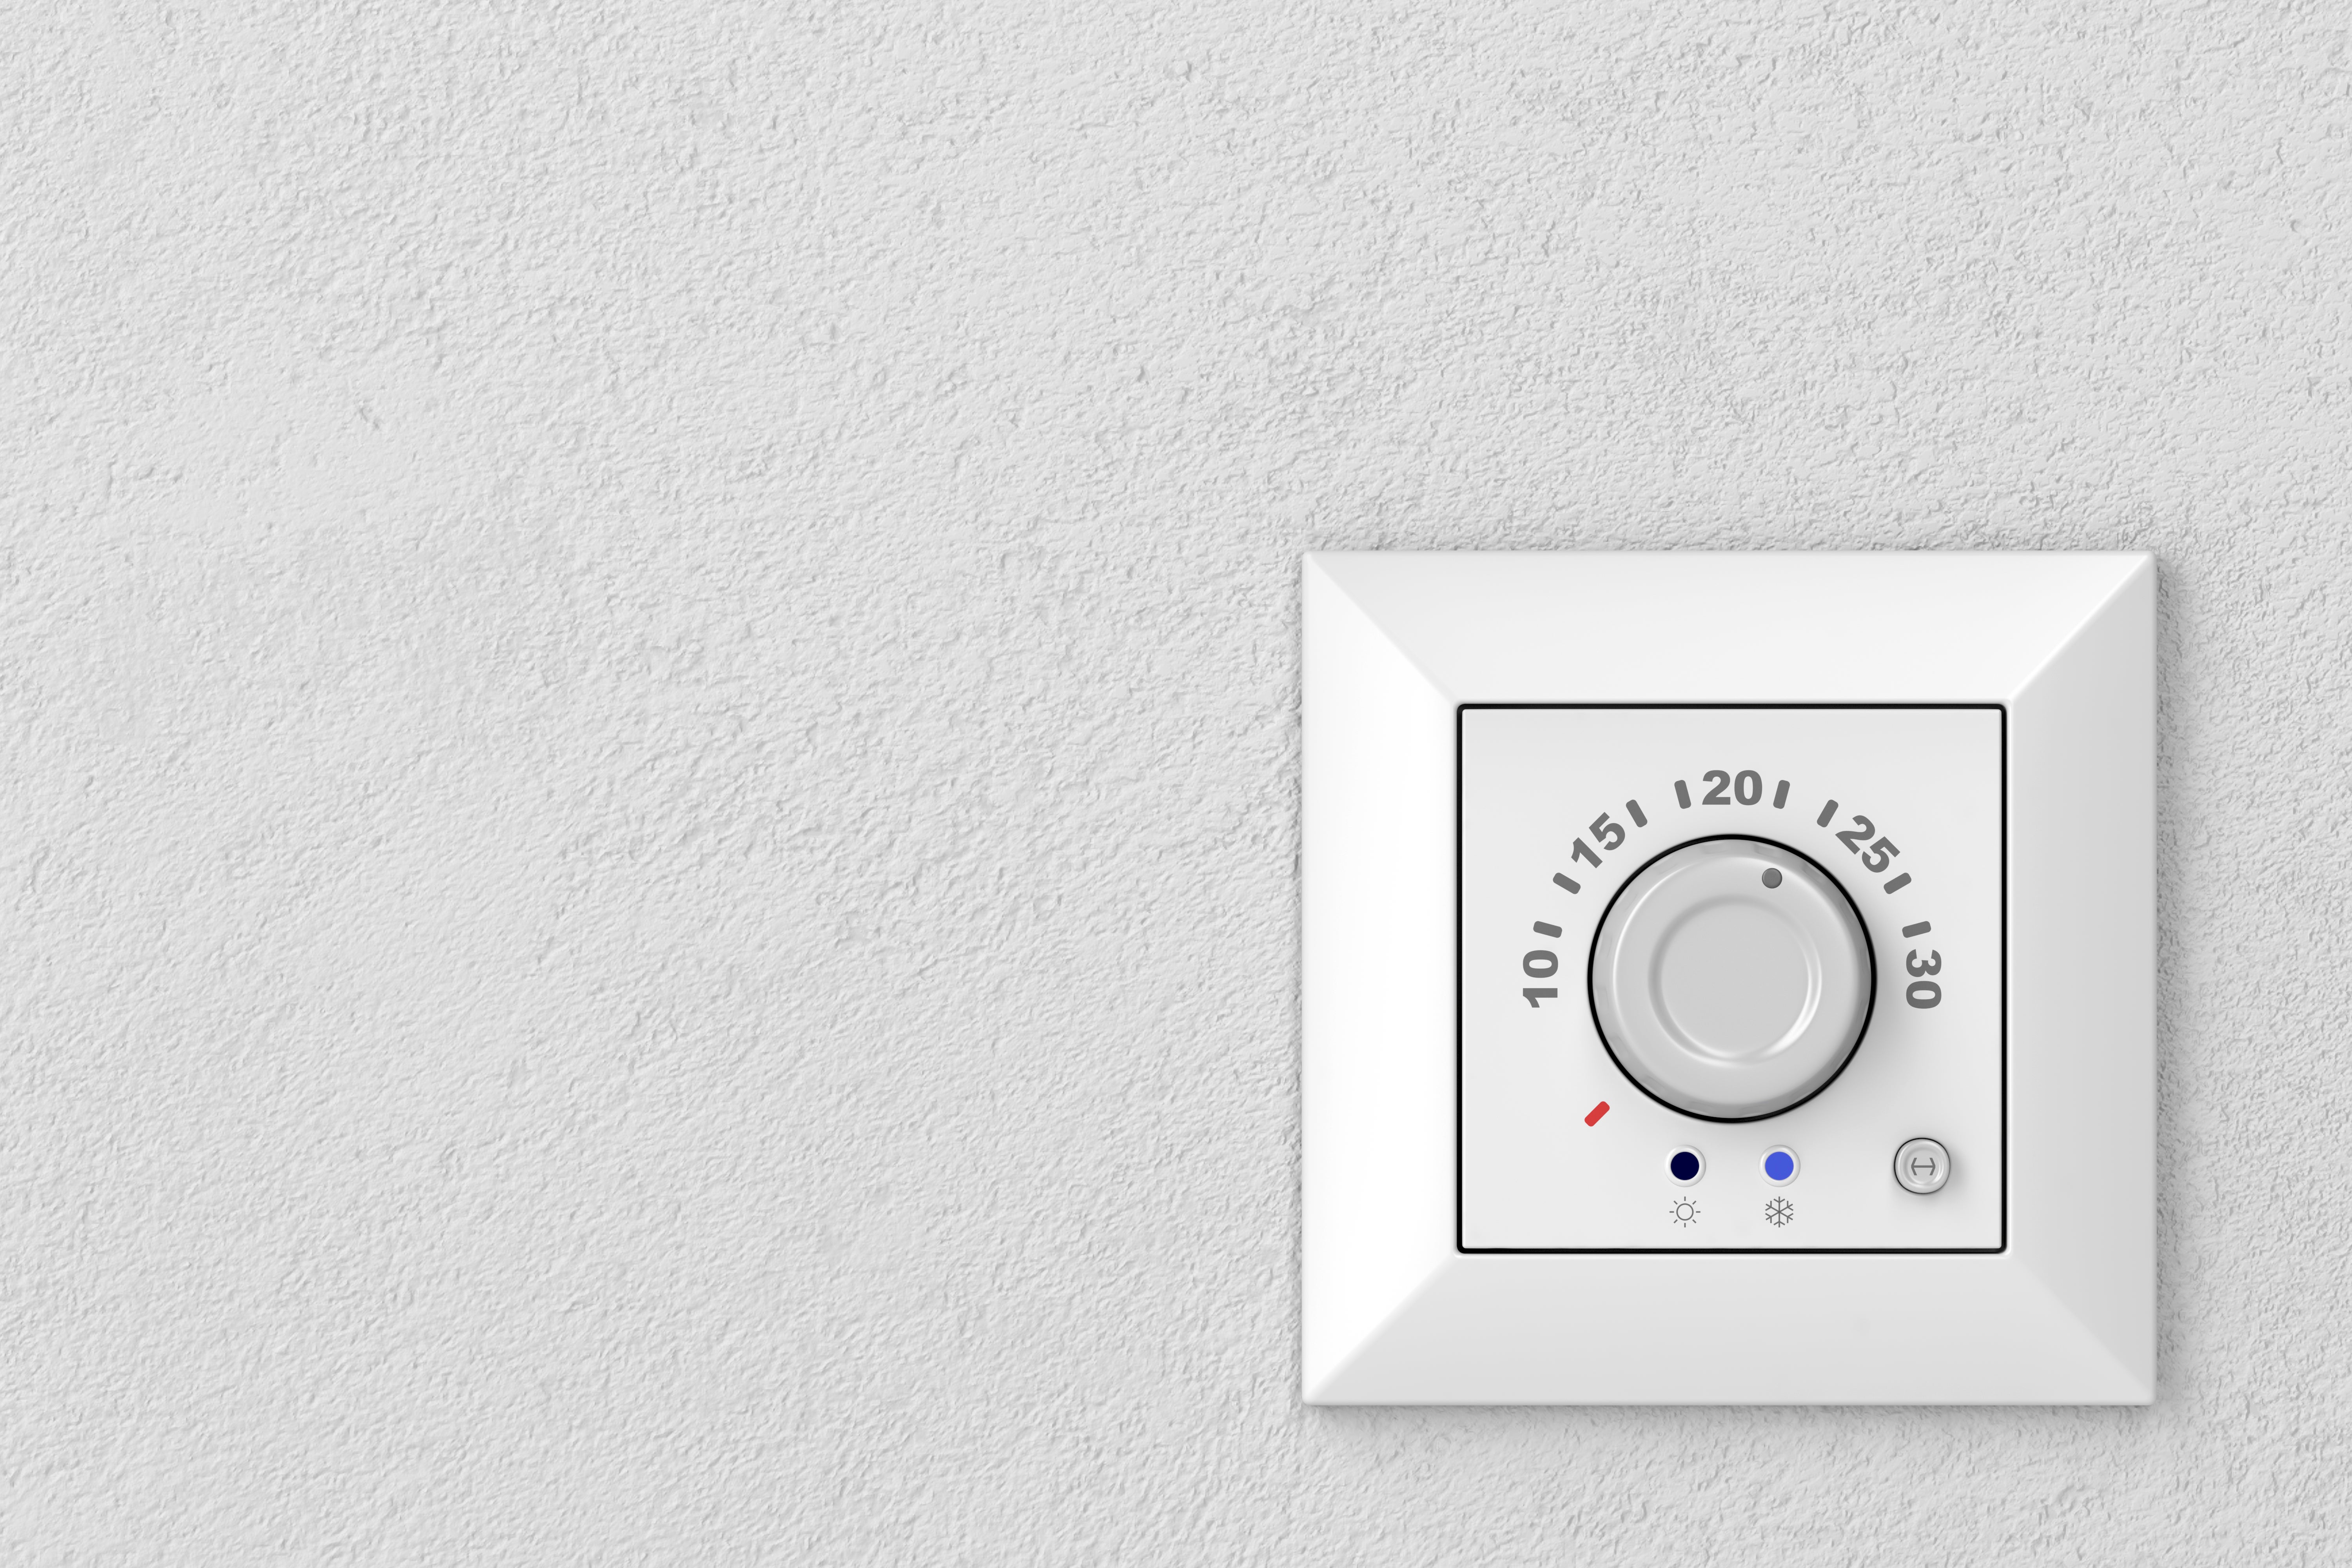
A ceiling fan regulator sits within the phase circuit and controls how much power actually reaches the motor. Speed adjustment throughout the day depends on it functioning correctly, which means getting the wiring right during installation matters.
Referring to a ceiling fan regulator wiring diagram during this part of the installation is a genuinely useful habit. Having a clear reference to hand reduces the likelihood of errors and makes it easier to confirm that each connection is going where it should.
Step-by-Step Ceiling Fan Wiring Installation
With preparation done and the wires properly identified, the actual installation work tends to move along steadily. Taking it one connection at a time, rather than trying to do everything at once, is what makes the difference.
Connect the Main Wiring
This is where how to wire a ceiling fan moves from something understood in principle to something being done in practice.
Connect the phase, neutral, and earth conductors to their corresponding terminals. Take the time to tighten each connection properly before moving on. Check them again after tightening.
Loose connections are behind more post-installation issues than most people realise. An extra minute spent on terminal security here regularly prevents a return visit to the ceiling later.
Connect the Regulator Circuit
The speed control wiring is easy to underestimate because the regulator itself is so physically small.
A ceiling fan regulator installed correctly gives smooth, predictable speed adjustment that feels natural to use. Installed incorrectly, it causes exactly the kind of inconsistent behaviour that is frustrating to diagnose after the fact.
Keeping a ceiling fan regulator wiring diagram to hand at this stage and comparing the connections against it before finishing is a straightforward way to catch any errors before they become problems.
Test the Installation Properly
The moment power is restored and the fan starts moving is a satisfying one.
Anyone learning how to install a ceiling fan with existing wiring should resist the temptation to test it once and consider the job finished. Run through all the speed settings. Listen for anything that does not sound right. Check that the regulator is responding correctly across the full range.
A few extra minutes of proper testing at this stage is far less trouble than coming back to investigate something that was not quite right from the start.
Conclusion
Learning how to install a ceiling fan is one of those jobs that looks more complicated from the outside than it turns out to be once the work actually starts. Phase, neutral, earth, and regulator connections cover most of what is involved. Understand those, work carefully through each one, and the result is usually a fan that runs reliably without any further attention.
Whether the starting point is understanding how to connect ceiling fan wires, replacing an old fitting, or figuring out how to install a ceiling fan with existing wiring in place, the quality of the components used makes a real difference to how everything holds up over time.
For trusted electrical solutions and accessories suited to residential installations, Schneider Electric eShop is a well-regarded option.
FAQs
Q1. Can a ceiling fan be installed on a sloped ceiling?
Yes, though a mounting kit designed for angled ceilings is needed, and the manufacturer's guidance should be followed throughout.
Q2. Why does a fan start slowly after being switched on?
Slow starting is usually linked to capacitor condition, voltage at the point of supply, or characteristics of the motor itself rather than a wiring fault.
Q3. Should ceiling fan terminals be inspected from time to time?
Checking for any looseness at the terminals during routine maintenance is a sensible habit that can prevent problems from developing.
Q4. Can dust buildup affect how a ceiling fan performs?
Over time, yes. Accumulated dust can reduce airflow efficiency, throw the blades out of balance, and add strain to the motor.
Q5. Does a ceiling fan need its own dedicated circuit?
In most homes, ceiling fans share a general lighting circuit. Local electrical standards vary, so it is worth checking what applies in the specific area.
Comments